Home     GE Turbine Control     GE Mark VI     ds200upsag1a

ProductS

ds200upsag1a

UC2000 POWER SUPPLY
Product DESCRIPTION
Part Number
ds200upsag1a
Manufacturer
General Electric
Country of Manufacture
As Per GE Manufacturing Policy
Series
Mark VI/VIe
Function
Module
Availability
In Stock
services we provide
Purchase Icon
Testing & Repair
Repair and Testing of circuit boards to diagnose ensure functionality to maintain current inventory and retain obsolete circuit boards/modules.
Exchange Icon
Training
Controls including HMI Training for Engineers, Technicians and Operators with wide variety of practical equipment including Management and Health & Safety.
Repair Icon
Purchase
You upgrade equipment and we purchase your surplus inventory to maximize the value of unused or end of life assets.
TECHNICAL SPECIFICATIONS FOR GE - ds200upsag1a

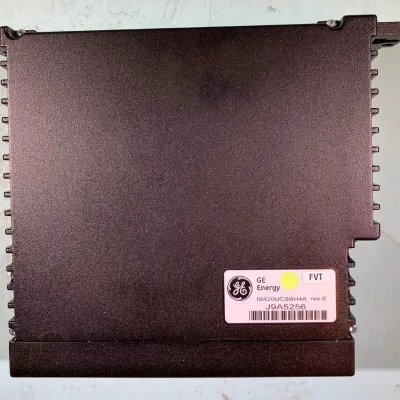
DS200UPSAG1A is a Power Supply Board and is part of the GE EX2000. Switches, light-emitting diodes (LEDs), a potentiometer (pot), and I/O power are all found on the UPSA power supply board. It is used on drives in the Innovation SeriesTM. The UPSA board is a 2-stage offline switching, 100 W power supply that accepts an alternating current or direct current line input and outputs control-level voltages.

DS200UPSAG1A Configurable Hardware

  • The board includes the following programmable hardware: RV1 RV1 is the factory-set potentiometer and should only be adjusted if necessary. (Set.05 on +5 V testpoint TP5 for 5 V.)
  • There are two switches. The power on switch is labeled SW1. SW2 is a reset button.

LEDs

  • DS1 is the PS OK LED on the board. The presence of this green LED indicates that the power supply is turned on.
  • DS1 is always on, except when there is no power or when any of the output voltages exceeds the limits.

Fuses

The UPSA has four fuses:

  • Bussman type MDA-4, 4A, 250 V; SSC rating 200 A or equivalent
  • Bussman type AGC-3, rated 3A, 250 V; SSC rating 100 A or equivalent; FU2, FU4 FU3 - ABC-12
  • Bussman type, rated 12A, 250 V; SSC rating 750 A or equivalent

Board Removal Procedure

  1. Ensure that all power to the unit is turned off.
  2. Loosen the top middle thumb screw on the outside of the door to open the unit. The UPSA board is mounted on the door.
  3. Disconnect connectors 2PLA, 2PLB, 2PLC, CCOM, FAPL, and AC1 (red) and AC2 ground wire (black).
  4. Disconnect all cables with care as follows:
    1. Pull the tab on a cable with a pull tab.
    2. Place one hand on each side of the cable connector that connects to the board connector when using a ribbon cable. Pull the cable connector gently with both hands. Do not use a ribbon cable to pull.
    3. Loosen the screw at the top of each terminal and gently pull each wire free with a screw terminal connector.
  5. Remove the board by gently unscrewing the six nuts.
featured products