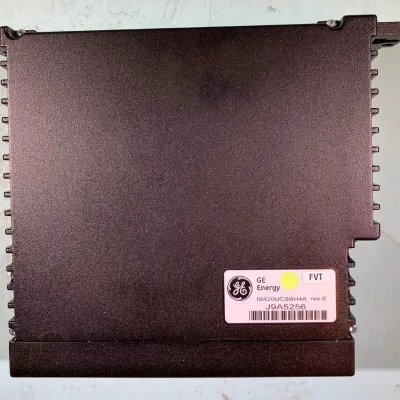
Home     GE Turbine Control     GE Mark VI     DS2020BRCBG2A

ProductS

DS2020BRCBG2A

BRAKE CONT MOD-15A T
Product DESCRIPTION
Part Number
DS2020BRCBG2A
Manufacturer
General Electric
Country of Manufacture
As Per GE Manufacturing Policy
Series
Mark VI/VIe
Function
Module
Availability
In Stock
services we provide
Purchase Icon
Testing & Repair
Repair and Testing of circuit boards to diagnose ensure functionality to maintain current inventory and retain obsolete circuit boards/modules.
Exchange Icon
Training
Controls including HMI Training for Engineers, Technicians and Operators with wide variety of practical equipment including Management and Health & Safety.
Repair Icon
Purchase
You upgrade equipment and we purchase your surplus inventory to maximize the value of unused or end of life assets.
TECHNICAL SPECIFICATIONS FOR GE - DS2020BRCBG2A

DS2020BRCBG2A is a brake control module designed and developed by GE. It is designed under Drive Control series.

Features

  • Input Voltage Rating: 460 VAC
  • Output Voltage Rating: 414 VDC
  • Current Rating: 12.5 AMP
  • The module is constructed with high-quality materials and designed to meet stringent safety standards. It is built to withstand harsh operating conditions and features a compact, robust design that can be easily integrated into machinery or equipment.

Board Replacemet Procedure

  1. Turn off the drive and wait several minutes for all of the capacitors to discharge. Before touching any electrical circuits, make sure the power is turned off.
  2. To access the board, open the cabinet door on the drive.
  3. Carefully disconnect all cables from the board by doing the following: For ribbon cables, gently pull the cable connector loose by grasping each side of the cable connector that mates with the board connector. Pull the pull tab carefully on cables with pull tabs. Loosen the screw at the top of each terminal and carefully pull each wire free for wires attached to RTB terminals.
  4. Remove the board by unscrewing the four screws with washers that secure it to the four standoffs.
  5. Place all configurable items on the replacement (new) board in the same position as those on the replaced board (old board).
  6. Place the new board on the four standoffs using the four screws and washers that were removed in step 4.
  7. Reconnect all cables that were disconnected in step 3, making sure that each connector is properly seated at both ends.
  8. Reconnect all individual wires that were disconnected in step 3 (as labeled), making sure that each wire is securely fastened in the terminal.
featured products