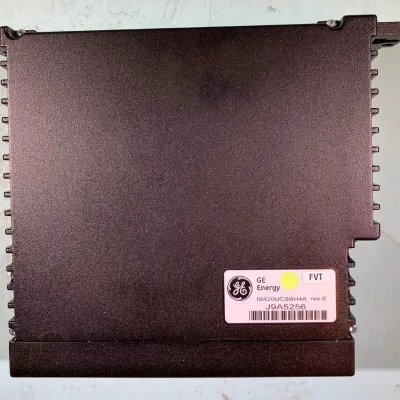
Home     GE Turbine Control     GE Mark VI     IS200EDEXG1B

ProductS

IS200EDEXG1B

EXCITER DE-EXCITATION
Product DESCRIPTION
Part Number
IS200EDEXG1B
Manufacturer
General Electric
Country of Manufacture
As Per GE Manufacturing Policy
Series
EX 2100e
Function
Module
Availability
In Stock
services we provide
Purchase Icon
Testing & Repair
Repair and Testing of circuit boards to diagnose ensure functionality to maintain current inventory and retain obsolete circuit boards/modules.
Exchange Icon
Training
Controls including HMI Training for Engineers, Technicians and Operators with wide variety of practical equipment including Management and Health & Safety.
Repair Icon
Purchase
You upgrade equipment and we purchase your surplus inventory to maximize the value of unused or end of life assets.
TECHNICAL SPECIFICATIONS FOR GE - IS200EDEXG1B

IS200EDEXG1B is an exciter De-Excitation Control Board designed and developed by GE. The EDEX is the de-excitation module's main board. When an emergency shutdown occurs and the field breaker or contactors open, this module removes stored energy from the generator field. To ensure operation in the event of a power outage, EDEX includes SCR firing, conduction sense feedback, and voltage retention. On the EXTB board, EMIO initiates de-excitation. The EXTB board activates the 41dc contactor (MDA/MDB) or breaker, then transfers de-excitation signals from the auxiliary contacts to the EDEX's SCR firing circuits. EDEX boards are classified into two types. Group 1 is for SCR de-excitation, while Group 2 is for diode de-excitation.

IS200EDEXG1B Functional Description

  • Two firing commands are received through the EXTB and activate the firing circuit with redundant control. When the circuit is activated, it generates a high frequency square wave that is connected to the SCR gate and causes conduction.
  • If this circuit fails or is delayed, the gate is activated by a self-firing circuit. This circuit consists of a break-over diode network connected to the SCR gate and controlled by the SCR anode voltage.

Voltage Hold Up Circuit

  • In the event of a total power failure, EDEX retains voltage on the positive and negative 24 V dc lines so that it can fire the SCR.
  • The voltage hold up circuitry also provides voltage for wetting the external de- excitation contacts. This ensures that the firing command is available for de-excitation in the event of a power outage.

Conduction Sensors

  • EDEX uses Hall Effect sensors to detect current in the field circuit. A mechanical ring couples magnetic flux to the sensors on the board's top edge. Separate circuits detect bi-polar current flow in sensor circuits 1 and 2. The current sense signals M1 and M2 are sent to EXTB and then to control.
  • The mechanical ring is configured to detect unidirectional current flow in diode de-excitation applications. The status of both current sense circuits is indicated by two red LEDs. When current flow is detected, the indicators illuminate.

  • SCR Firing Voltage

  • The voltage and type of SCR used determine the SCR anode firing voltage. Wire jumpers are used to set the Break Over Diodes (BODs) and current limiting resistors. M1, M2, and the Break Over Diodes are wired together and connected to the gate of the SCR via the DEPL connector.
  • The EDEX will be destroyed if the break-over voltage of a break-over diode is exceeded and the BOD is not connected to the gate of the SCR. Check that the firing control circuit will fire the SCR before attempting to fire it by exceeding the break-over voltage of the BOD.

  • IS200EDEXG1B Replacement Procedures

    1. Verify that the panel in which the board is located has been de-energized.
    2. Open the auxiliary cabinet door and check any electrical circuits for power before touching them.
    3. Disconnect all cables from the EDEX board with care as follows:
      1. Ensure that all cables are labeled with the correct connector name (as indicated on the board) to facilitate reconnection.
      2. Remove all cables from the board and remove the stab on wire jumper from connector E1A, leaving the other wire jumpers in place.
    4. Remove the conduction ring (flux concentrator) that sits on top of the Hall Effect sensors.
    5. Remove the EDEX board by opening the PEM Snap Top fasteners that hold it to the intermediate mounting panel.
    6. Arrange the wire jumpers on the replacement EDEX board in the same order as on the old board, and double-check that jumpers JP1 and JP6 are in the same position.
    7. Place the replacement EDEX board in the same location on the mounting panel as the one that was removed, and secure it with the Snap Top fasteners.
    8. Install a new conduction ring.
    9. Reconnect all cables to the EDEX board as labeled, as well as the wire jumper to E1A, and double-check that cables are properly seated on both ends.
    10. Close the door to the auxiliary cabinet
    featured products