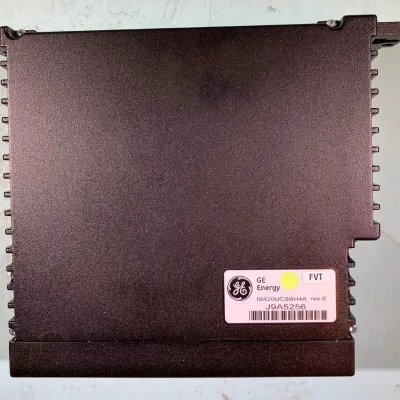
IS200EISBH1A is an Exciter ISBus Board and is part of the GE EX2100. The Exciter ISBus Board (EISB) is a unique communication board for the M1, M2, and C controllers. It receives and transmits fiber-optic feedback signals to the DSPX controller via the control backplane, and it also communicates between the DSPX and the tool and keypad ports via the backbone connector using RS-232C. EISB also includes ISBus interface electronics for redundant exciters.
IS200EISBH1A Functional Description
- ISBus is a GE proprietary communications interface that is used here to transfer data between the exciter's M1, M2, and C controllers. EISB is a single-slot, 3U high module found in the control rack beneath the DSPX.
- It accepts current and voltage signals from the generator field (and the Exciter if necessary) via fiber-optic connectors on the front panel, and receives and transmits signals to the Ground Detection module.
Application Data
EISB has no LED indicators, jumpers, or fuses.
Connectors
The following fiber optic connectors are located on the board's front panel for receiving and transmitting variable frequency signals:
- EDCF board generator field dc voltage input
- dc Generator Field The EDCF board's current input
- EDCF Exciter Voltage input (optional)
- EDCF exciter current input (optional)
- Voltage input for Ground Detector
- Voltage output from the Ground Detector A reset switch is also recessed behind a hole in the lower part of the front panel.
Optical Connectors
On the front panel, there are two groups of four optical receive receptacles. In the lower section, there is a two-piece group consisting of one optical receiver and one transmitter.
Keypad and Tool
For communication with the keypad, EISB has an RS-232C driver. It provides the power source with +24 V dc and 24 V dc return from the backplane. EISB also includes an RS-232C driver for communicating with a computer via the tool port. The data rates range between 1200 and 38.4 KBaud.
IS200EISBH1A Board Replacement
To replace a board in a control rack while it is offline
- Ensure that the exciter has been deactivated;
- Open the control cabinet door and ensure that the power indicators on the EPDM and EPSM power supplies, as well as the controller's LEDs, are turned off.
- Disconnect the fiber-optic cables from the EISB board's front. Make sure they are labeled correctly for reassembly.
- Carefully remove the DSPX board and its attached EISB board from the control rack, as shown below:
- Loosen the screws near the ejector tabs at the top of the DSPX faceplate and the bottom of the EISB faceplate. (The screws in the faceplate are captive and should not be removed.)
- Remove the DSPX and EISB by pulling up on the ejector tabs.
- Gently pull both boards from the rack with both hands.
- Remove the DSPX from the top of the EISB and replace it with the new EISB board.
- Place the replacement DSPX and EISB boards in the appropriate rack slot.
- Begin seating the boards by firmly pressing the top and bottom faceplates with your thumbs at the same time.
- Finish seating the boards in the slot by tightening the screws at the top and bottom of the faceplate assembly alternately. Screws should be tightened evenly to ensure that the boards are seated squarely.
- Reconnect all communication cables that were removed from the old module.